
When you hear sew-in the mind immediately goes to the traditional sew-in that includes braiding all of the hair down then sewing the weave on top of the hair. Some people like myself prefer to have their hair shampooed weekly so a regular sew-in would not work for me. I like to actually get to my scalp to scratch and ensure my hair is squeaky clean weekly. If not my scalp will itch very badly! That is why I love my removable sew-ins! They are u-part wigs made to be sewn on instead of clipped on. Only a very small portion of my real hair is left out to cover the tracks. I have a client that also agrees and recently purchased one from me and since then she has told me that she absolutely loves it. So, let me explain exactly what takes place and the many benefits of having a removable sew in. One major benefit of the removable sew-in is the time factor. I do the major work at home when I make it (with hair from L. Jones Hair Collection of course). By the time the client comes the hard part is already done. To install it takes all of about twenty minutes! Can you imagine getting a sew in done in twenty minutes?!? Ok, so I make it at home then let the client come in and install it for her. This includes shampooing and deep conditioning the hair first, braiding it down, then sewing on the unit.
Let's begin with step one
- the shampooing and deep conditioning of the hair. Any time you wear weave, you want to be sure to take extra care of your real hair to prevent any damage and to encourage and promote growth. Weave should always be an option, not a necessity. I used all Silk Hydration by L. Jones products including the clarifying shampoo, moisture shampoo, and the moisturizing treatment.

After that I generously sprayed the hair with Silk Hydration by L. Jones Leave-In Conditioner before I began blow drying. Once the hair was dry I then began to braid it. I sectioned off the part that I was going to leave out, pinned that out of the way, the began the braiding. After the hair was braided up, I simply sewed the entire unit onto the the braided hair.

Once the hair is sewn on I then curled it and blended her natural hair in. Here are the after results.
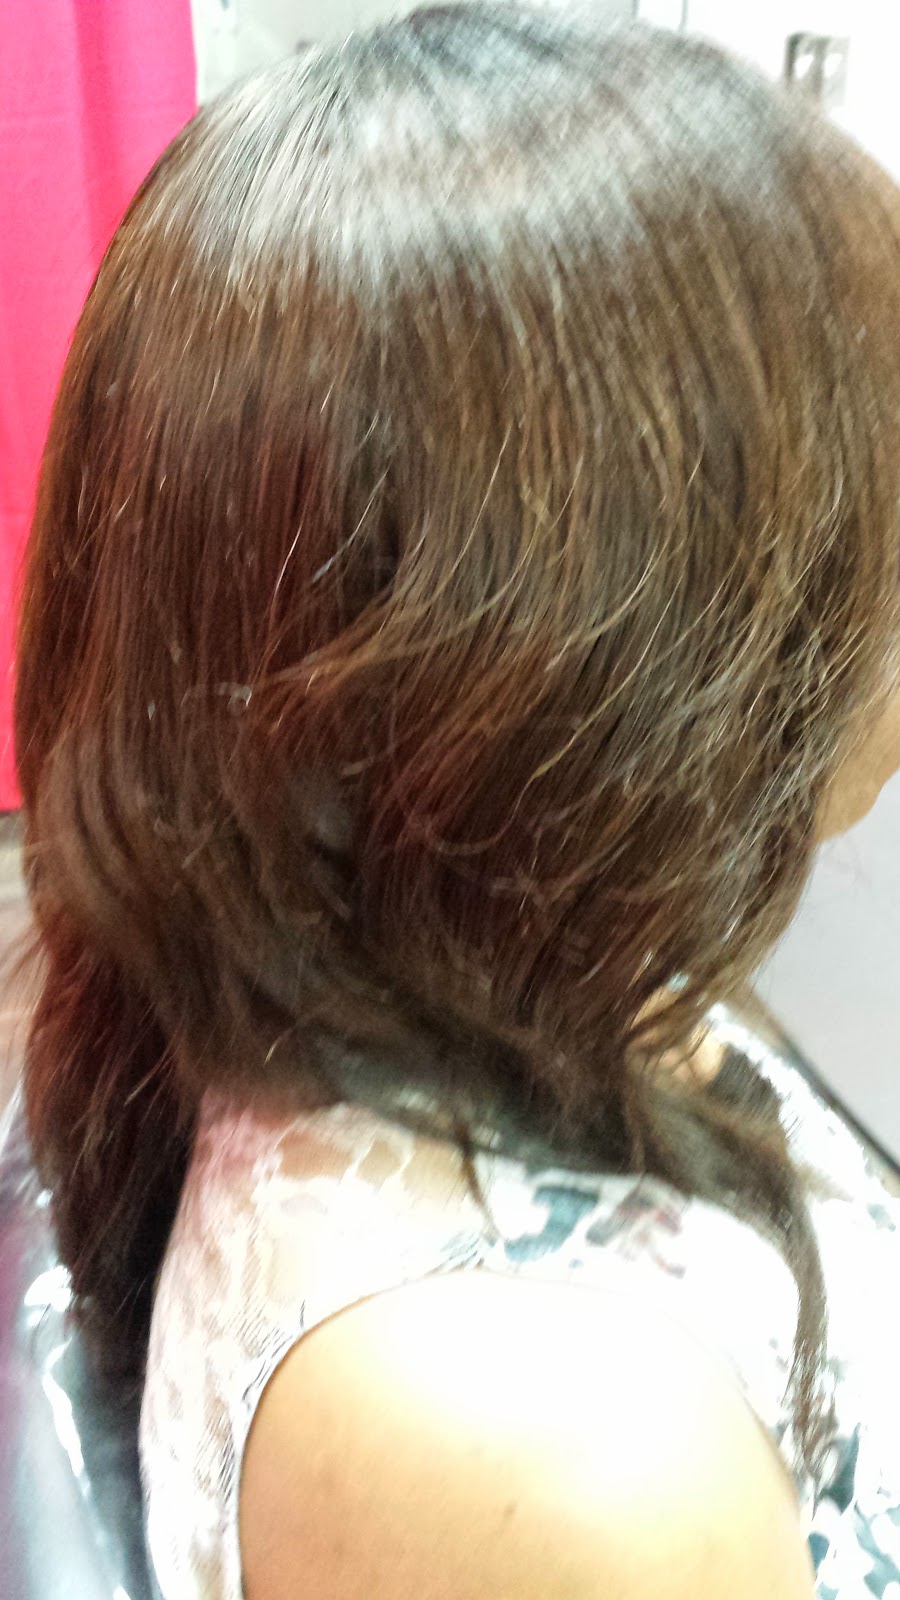
This client is also 100% natural. I used edge control to make the edges look relaxed and lay down flat.

She is in the army which requires lots of physical activity that makes her sweat in her scalp. Therefore, she prefers to get her hair shampooed once per week. Her removable sew in is perfect for her because she can get the same look from week to week without anyone knowing. She takes it down before she comes in, shampoos her unit, then brings it back in at her appointment ready to be installed again. Once her hair was shampooed and conditioned, it took me approximately one hour to blow dry, braid her hair, AND install her unit! Talk about easy peasy..

At night she simply puts her stain bonnet on, then gets up the next morning, takes it back off and is on her way!


Is it clipped or sew in unit. And if sew in can she put it in a ponytail?
ReplyDelete